Technician marking a weld seam on a pipe while holding a small flashlight.

Visual Testing: A Fundamental Method of NDT

Discover the advantages of the visual testing (VT) method, understand the basic principles of VT, and explore the variety of techniques for applying this highly adaptable method in nondestructive testing across industries.

What Is Visual Testing and How Is It Used in NDT?

Visual testing is an NDT method that involves the direct observation of a component to detect surface discontinuities. It is the simplest and most fundamental form of NDT, often serving as a preliminary step before applying more complex methods. VT can be performed with the naked eye or with the aid of optical instruments such as magnifying glasses, borescopes, and video scopes.

The versatility of this method allows it to be applied in various industries and environments. A skilled NDT specialist uses field experience and knowledge to apply the right technique for the job and can communicate findings through a variety of reporting formats.

The primary objectives of VT in industrial applications include:

  • Detecting Surface Defects: VT is used to identify surface discontinuities such as cracks, porosity, and corrosion.

  • Dimensional Verification: Ensuring that components meet specified dimensional criteria.

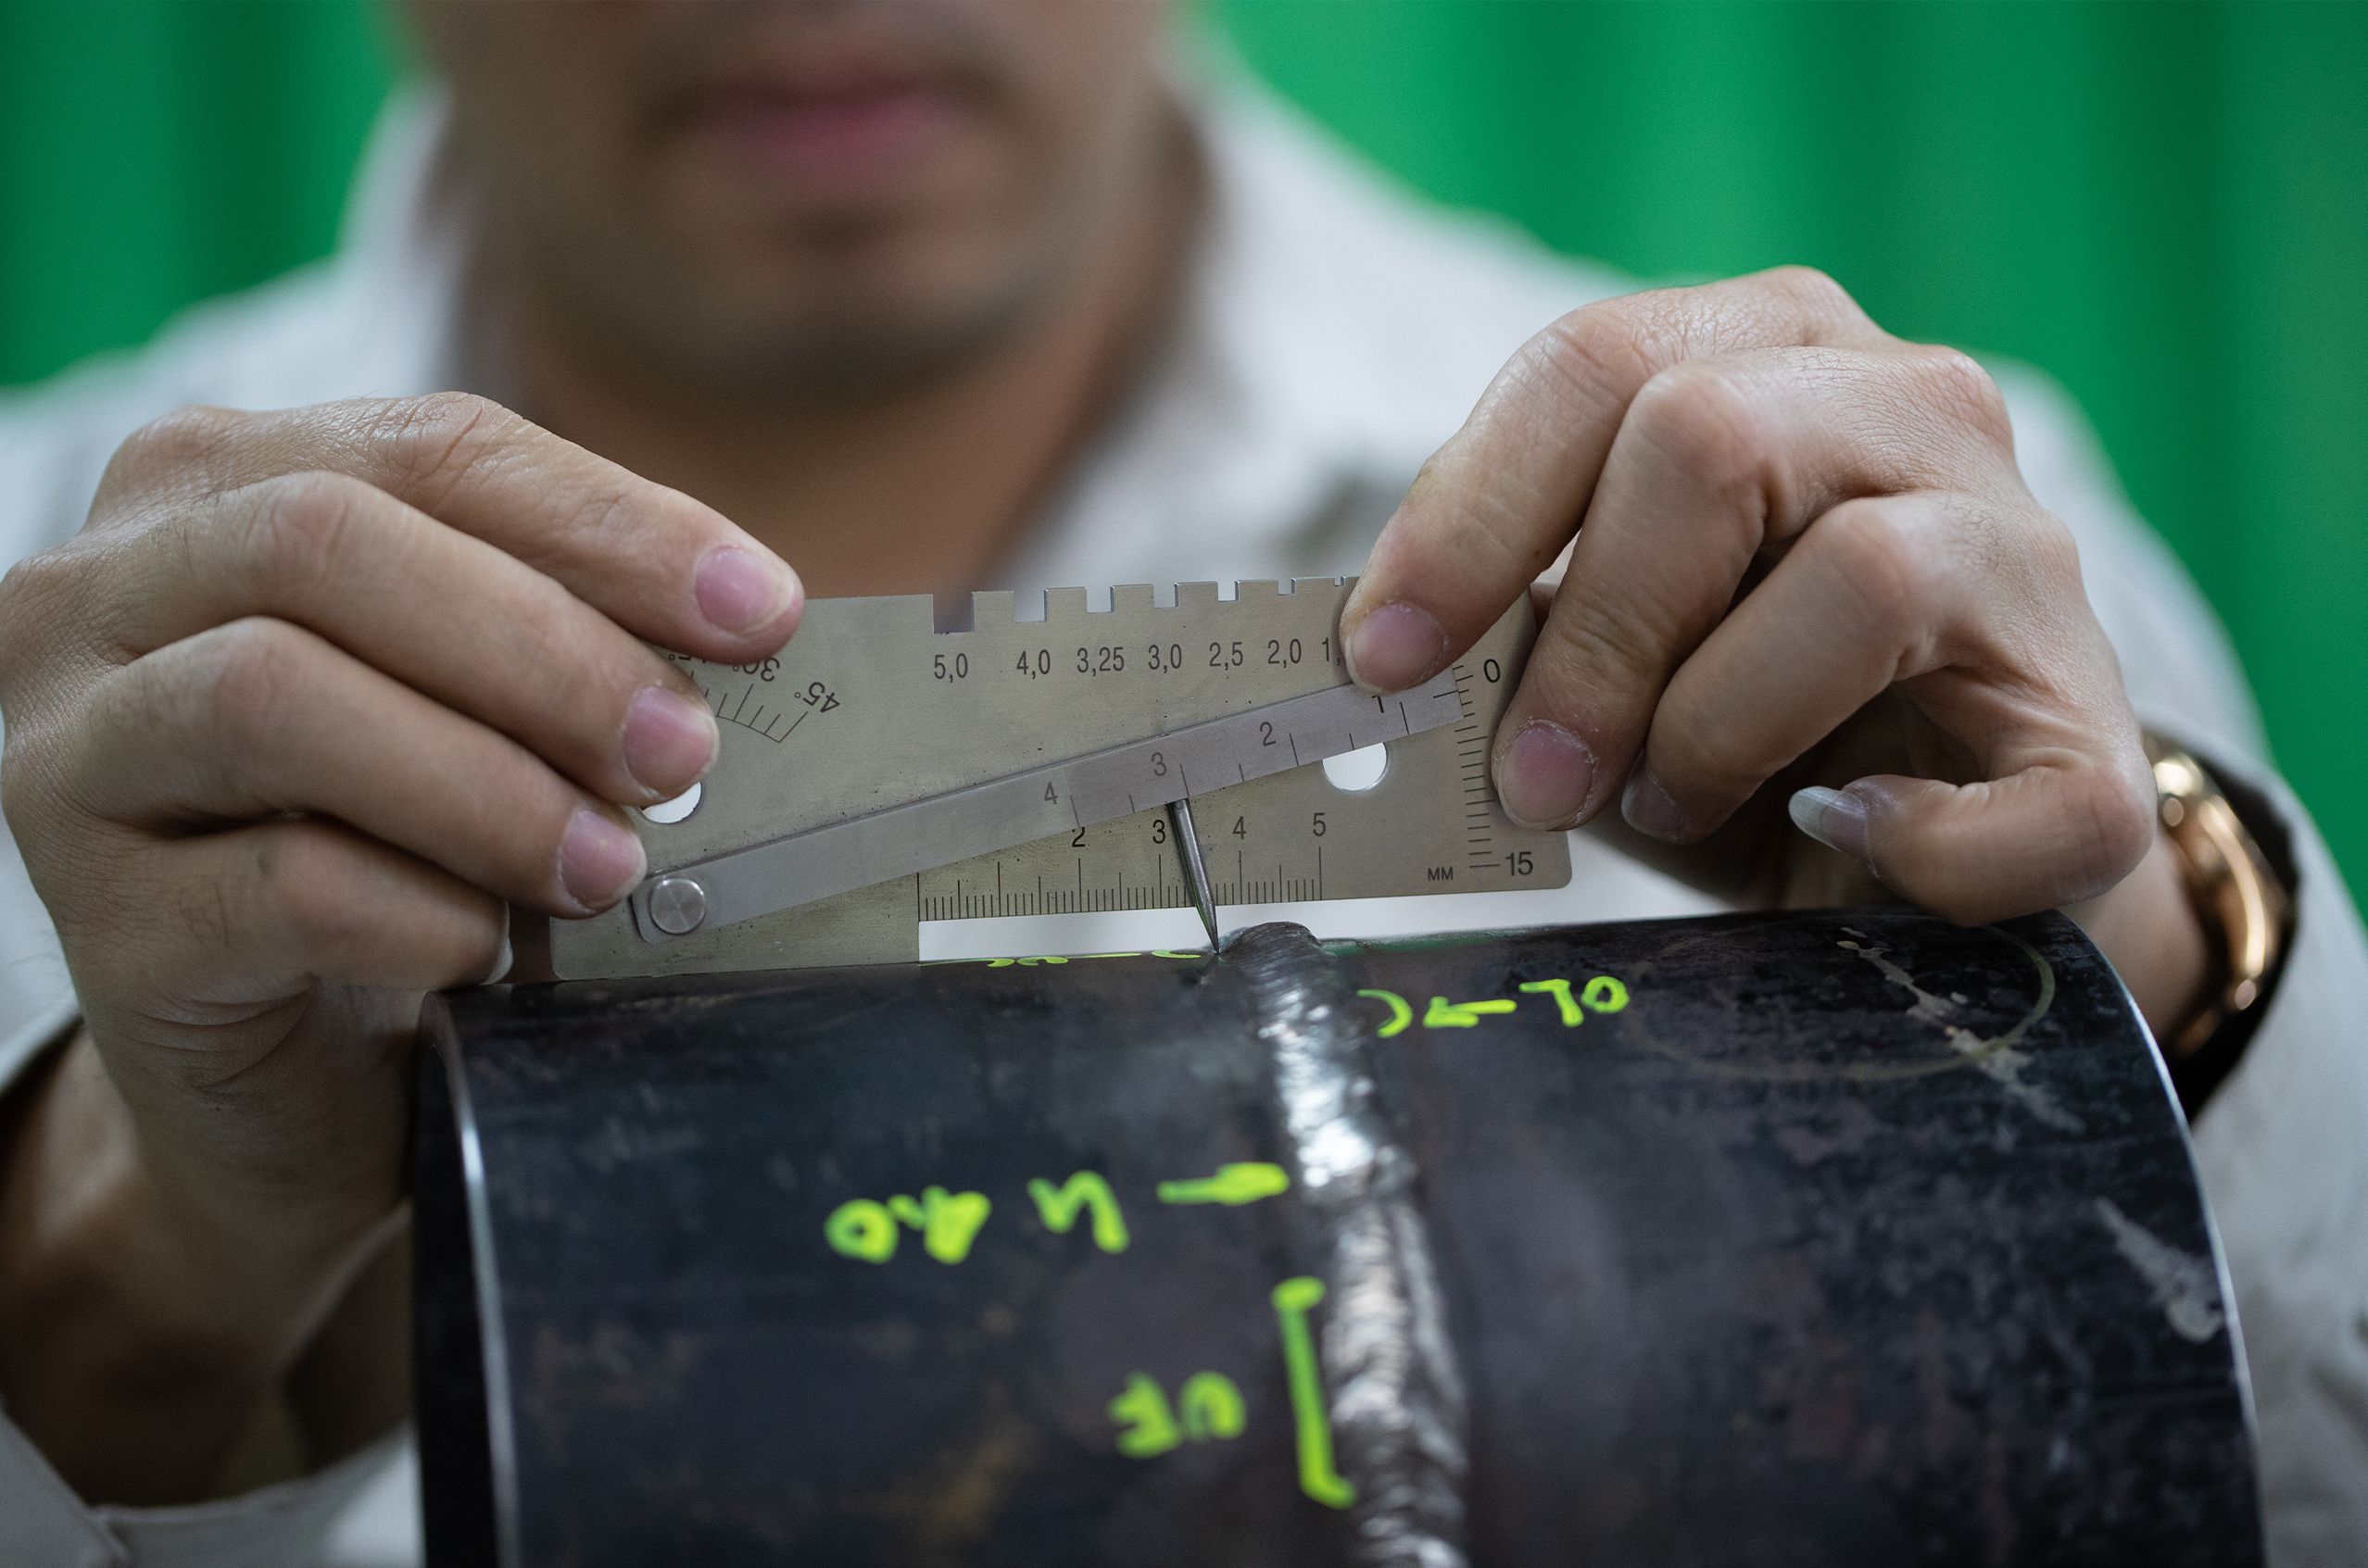
  • Weld Inspection: Evaluating weld quality by checking for surface defects and proper weld dimensions.

  • Support Other Methods: Provide complementary information that can guide or enhance the effectiveness of other NDT methods. VT can help identify areas that require more detailed inspection using techniques like ultrasonic or radiographic testing.

Hand holding a ruler against a concrete surface to measure cracks and defects.

Advantages and Limitations of Visual Testing in NDT

VT is a widely applicable method used in many industries, including manufacturing, aerospace, oil and gas, and more. Its ability to quickly and cost-effectively detect surface flaws makes it invaluable for ensuring the integrity and safety of equipment and structures.

Advantages of Visual Testing

  • Simplicity and Accessibility: VT is one of the most straightforward NDT methods, requiring minimal equipment, and concepts are easily understood and applied by inspectors.

  • Cost-Effectiveness: Since VT often requires only basic tools, it is generally less expensive than other NDT methods that require sophisticated and costly equipment.

  • Immediate Results: VT provides real-time results, allowing inspectors to quickly identify and assess surface anomalies. This immediacy can be crucial for making timely decisions regarding maintenance and repairs.

  • Non-Invasive: VT is a non-invasive method that does not alter or damage the test object. This makes it suitable for inspecting critical components where maintaining the integrity of the material is essential.

  • Versatility: VT can be applied to a wide range of materials and components across various industries, including aerospace, automotive, construction, and nuclear power. It is effective for both direct and remote inspections.

Limitations of Visual Testing

  • Discontinuity Detection: VT can only detect surface-level. Identifying subsurface flaws may require other NDT methods such as ultrasonic testing (UT) or radiographic testing (RT).

  • Line of Sight Requirement: Effective VT requires a direct line of sight to the area being inspected. This can be challenging for components with complex shapes or those located in hard-to-reach areas.

  • Lighting: Proper lighting is crucial for accurate visual inspection. Poor lighting conditions can obscure defects and result in missed detections or inaccurate assessments.

  • Subjectivity: The effectiveness of VT depends on the skill and experience of the inspector. Inadequate training or experience can result in incorrect assessments.

  • Environment: Adverse conditions, such as radiation, extreme temperatures, or underwater locations, can complicate the VT process and require specialized equipment.

  • Preparation: The test object may need cleaning or surface preparation to remove materials that could obscure defects, potentially adding time to the inspection process.

Visual testing is foundational to all NDT since visual interpretation is required by each of the other methods. Visual inspection relies on visual acuity as well as the other senses of the inspector. In most NDT methods, inspectors rely on instruments to help them perform inspections. In visual testing, the inspector is the instrument that evaluates the part.”

Bruce Crouse
VT Level III

How Visual Testing Works: Basic Principles

In VT, the inspector visually examines the component for any signs of surface discontinuities. This can be done directly or with the aid of optical tools.

Steps in the Visual Testing Process

1

Surface Preparation

Clean the surface to remove any contaminants that could obscure defects.

2

Inspection

Use appropriate lighting and optical aids to examine the surface.

3

Evaluation

Identify and assess any discontinuities based on established criteria.

4

Reporting

Document the findings, including any discrepancies or defects identified.

Light Interaction with Materials

Visual testing (VT) depends largely on the vision and perception of the technician performing the inspection. Utilizing light and angles helps NDT technicians to observe and identify potential flaws. When carrying out VT, understanding the surface they are working on and how their ability to view the area of interest influences the accuracy of the inspection.

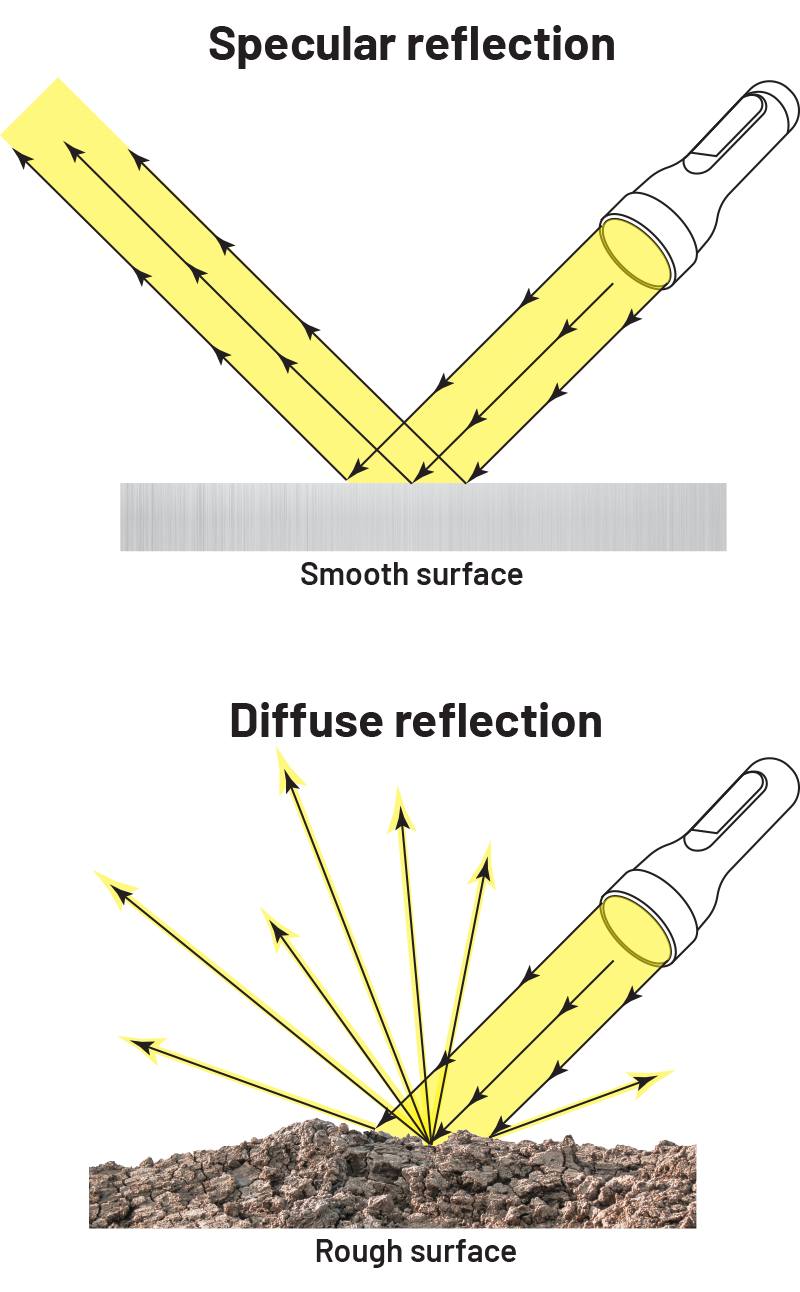
  • Specular Reflection: On smooth surfaces, light reflects predictably, bouncing off at the same angle it strikes.

  • Diffuse Reflection: On rough surfaces, light scatters in various directions due to multiple angles of the surface planes.

  • Viewing Angle: Inspectors should observe the area of interest within 24 inches (600 mm) and maintain a viewing angle of no less than 30° to the surface. Viewing an object from different angles can change its apparent size and location.

  • Peripheral Vision: Helps inspectors notice discontinuities with high contrast against the background when scanning large areas, even if they aren't directly focused on them.

Diagram illustrating the difference between specular reflection on a smooth surface and diffuse reflection on a rough surface, with a flashlight used as the light source in both examples.

Equipment Used in VT

VT employs a variety of tools to achieve the desired inspection results:

Mirrors

Dental mirrors are essential for inspecting hard-to-reach areas such as pipes, holes, castings, and corners. They are often used with flashlights to reflect light onto these areas.

Magnifying Devices

Come in numerous configurations and optical strengths. Magnifiers are simple in design and help to focus on areas of interest by zooming in on identified discontinuities.

Optical Scopes and Probes

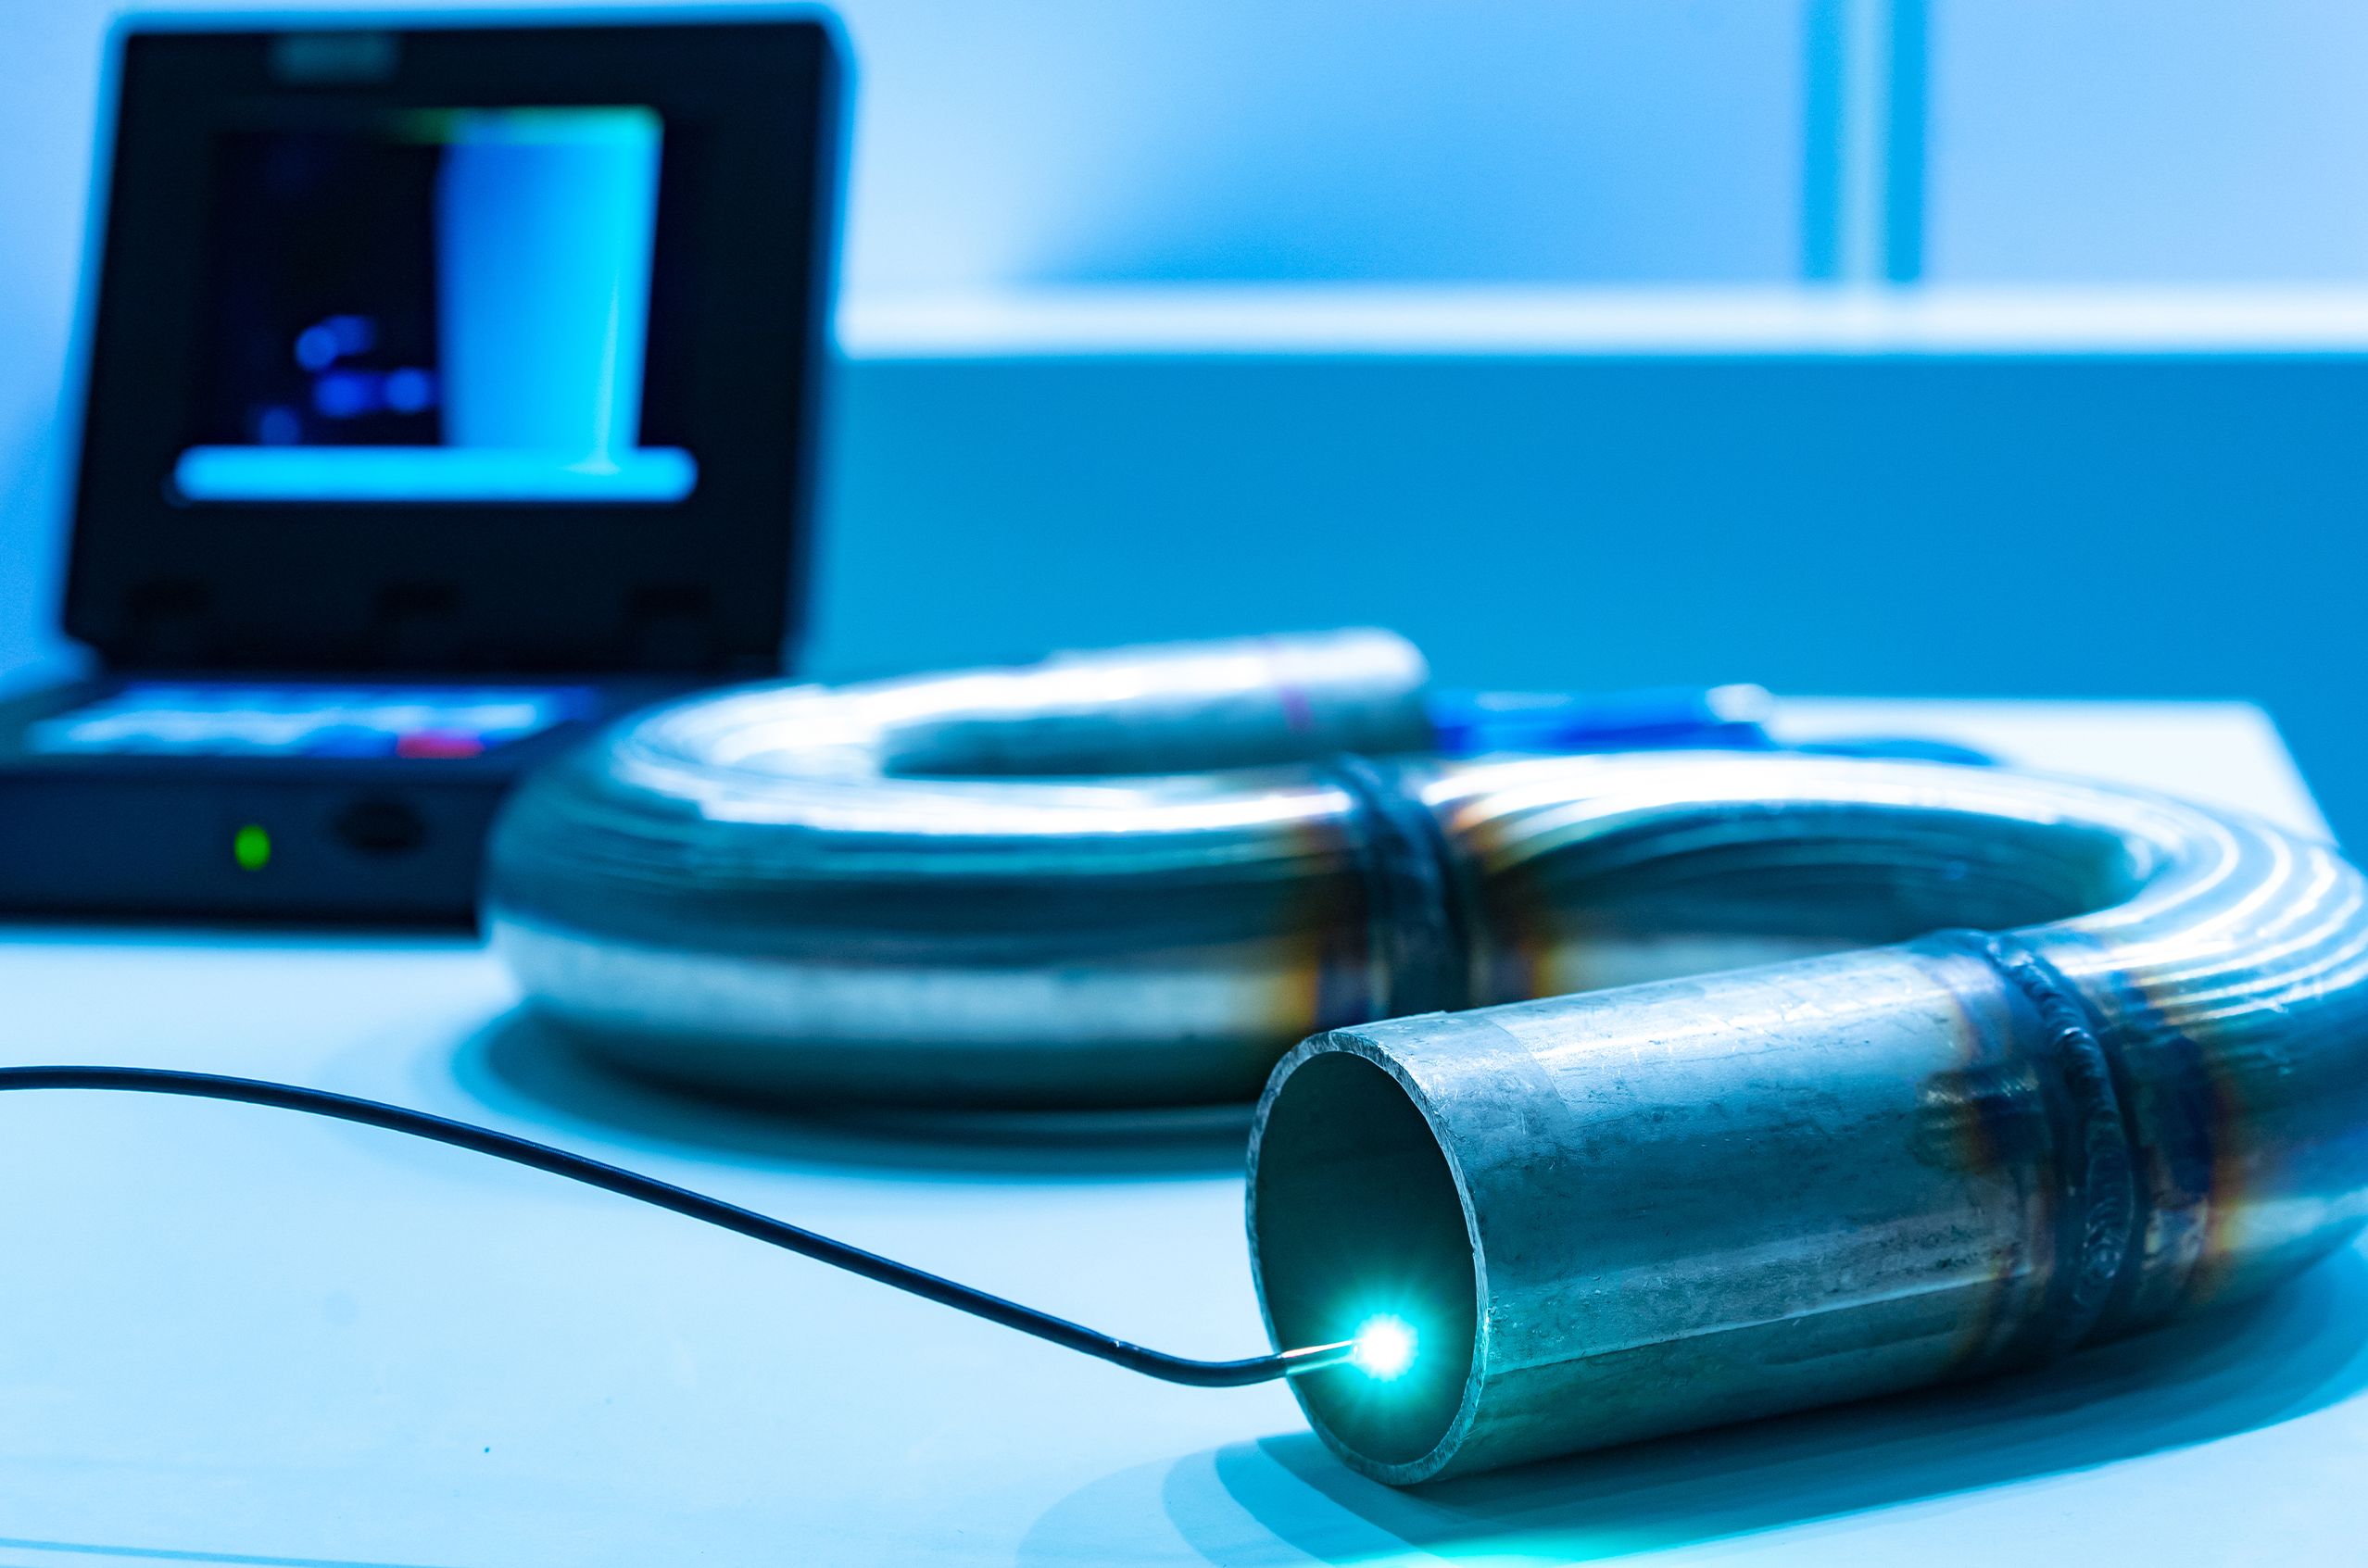
Essential for inspecting internal surfaces like tubes and pipe bends. They provide close, magnified views, have a light source at the tip, and often include a camera for detailed photos, as well as software for on-screen measurements.

Charge-Coupled Devices

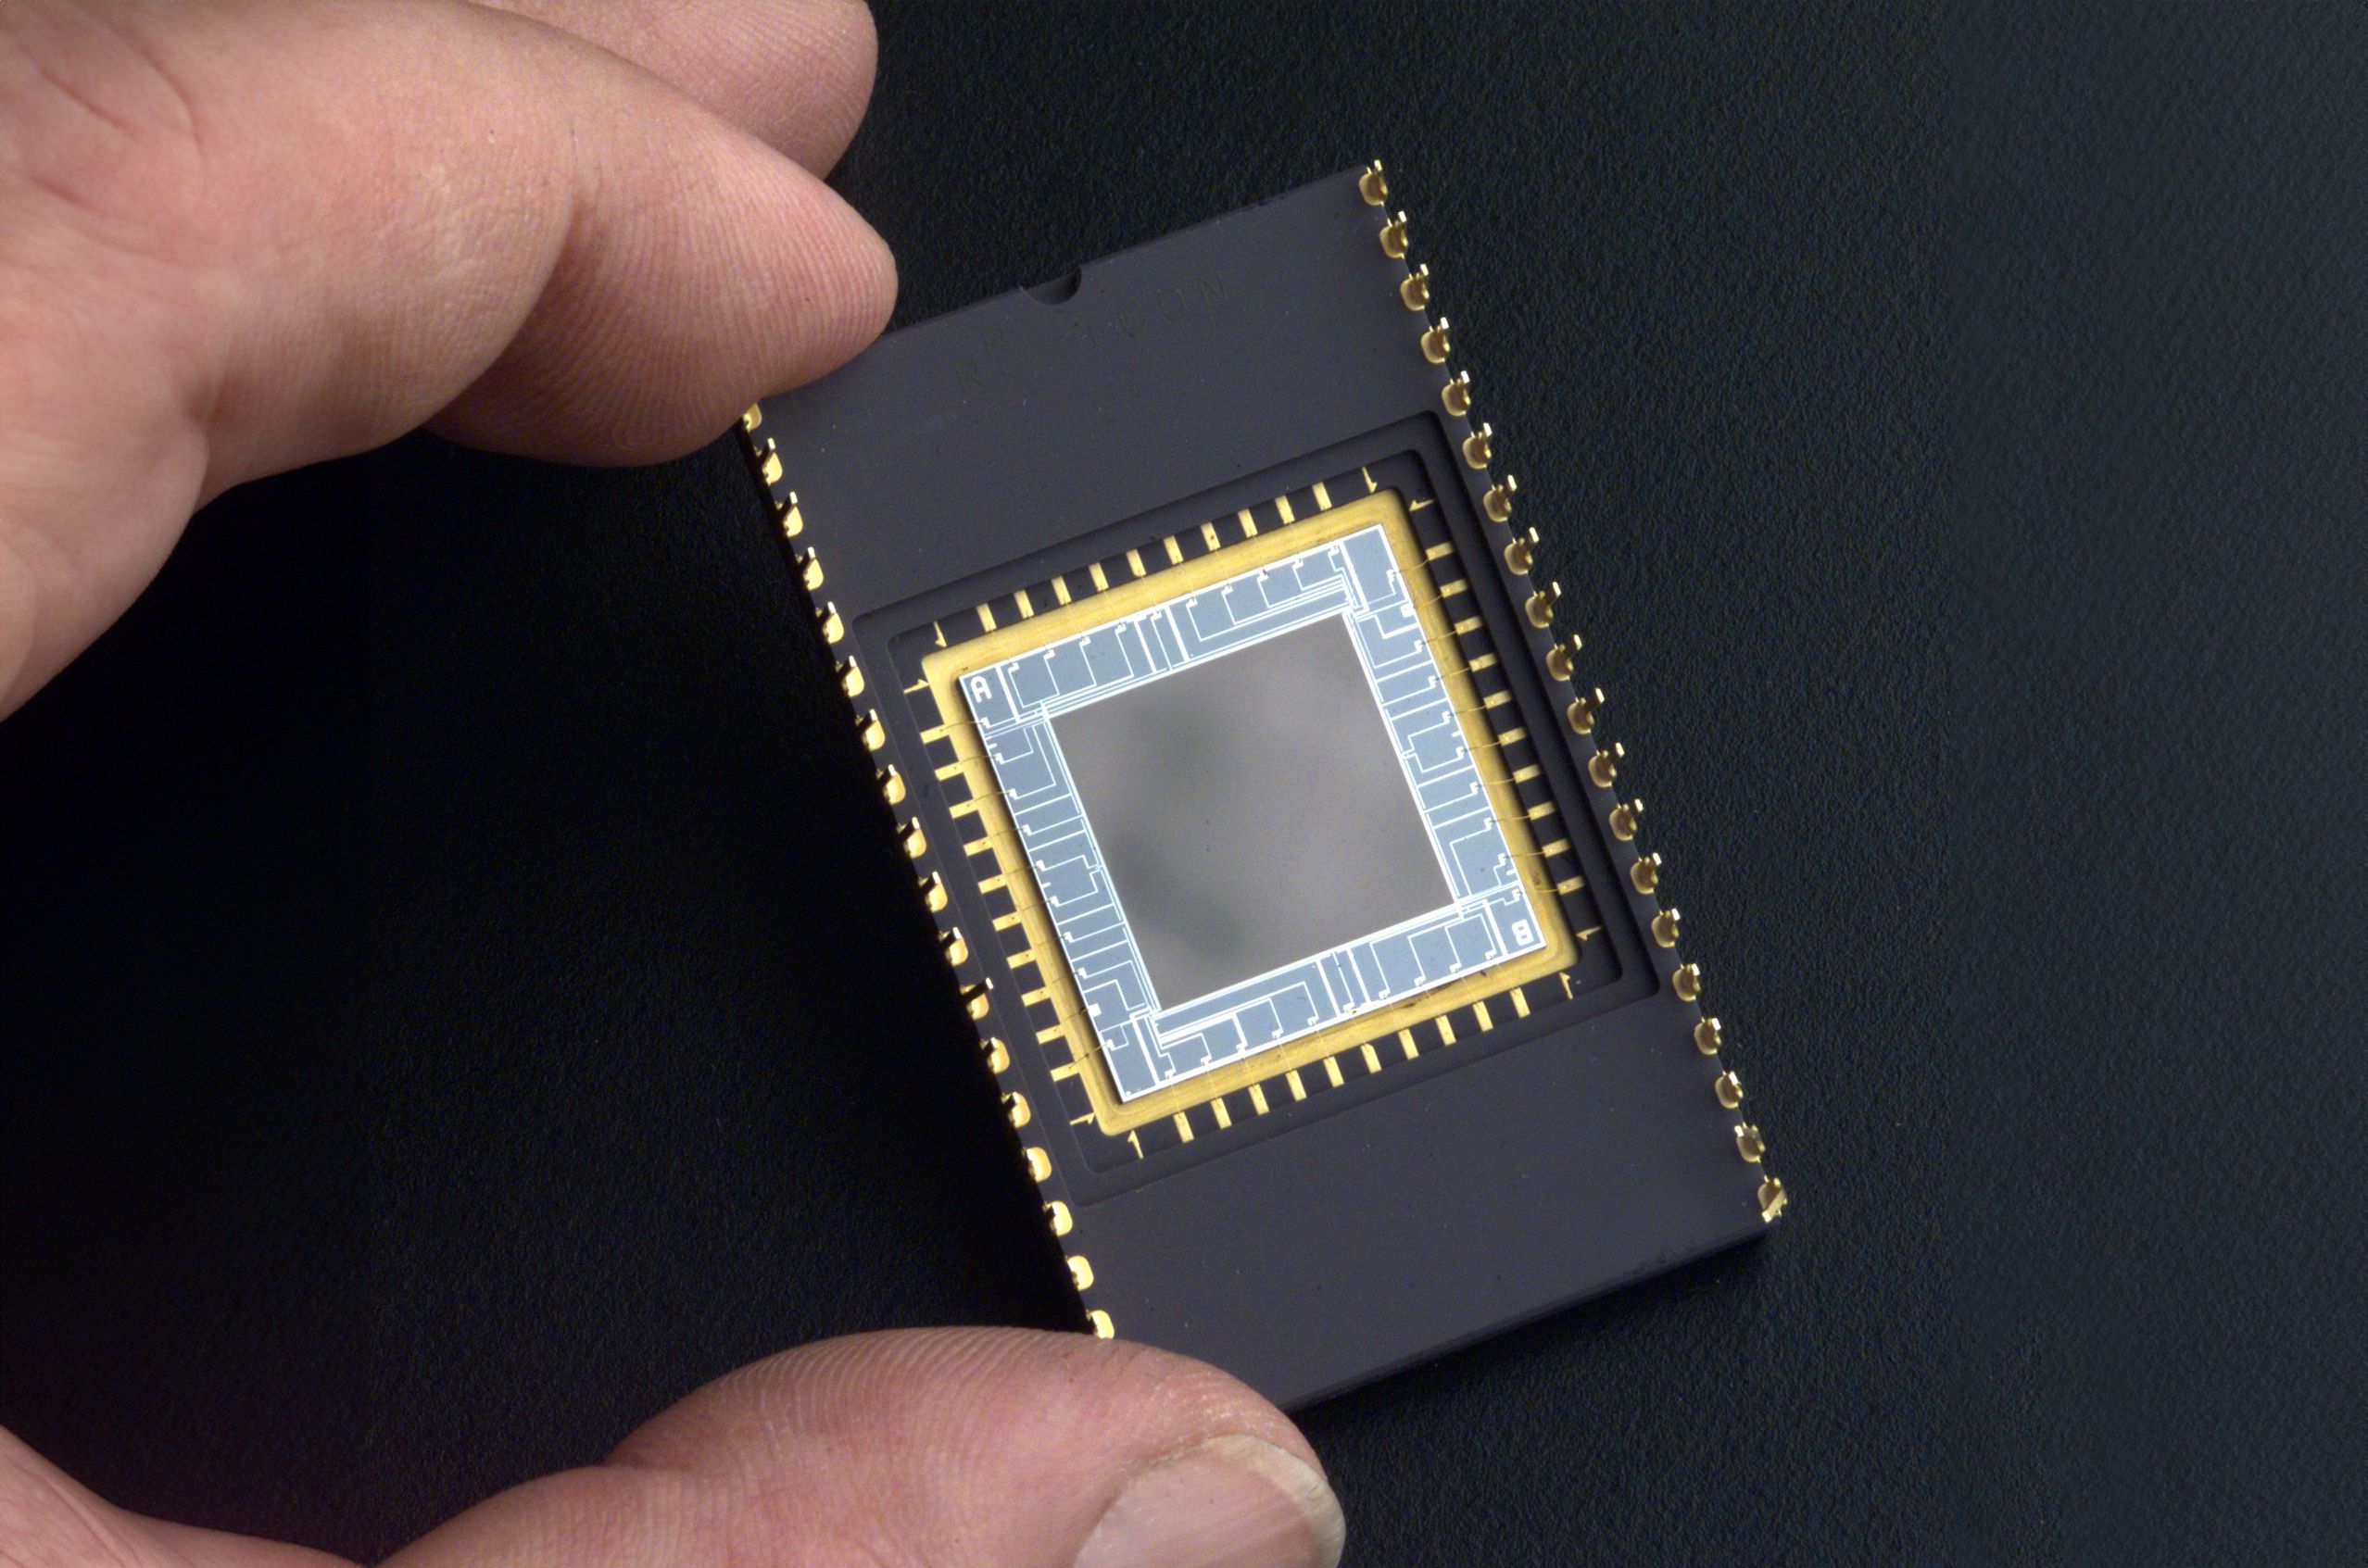
Small TV cameras in the form of charge-coupled devices or charge transfer devices can be used in place of common fiber-optic imaging systems.

Inspector using a gauge to measure a weld on a metal surface.

Visual Testing Techniques Used in NDT

Visual testing (VT) employs different techniques to detect and measure discontinuities in materials. These methods can be categorized based on how the inspector views the surface of the material. Deciding which method to use depends

The primary difference between direct visual testing and indirect visual testing lies in how the inspector views the test object:

Direct Visual Testing (DVT)

  • Involves direct observation of the surface with the naked eye or simple tools like magnifying glasses.

  • Simple aids such as mirrors and magnifying lenses may be used to improve the angle of vision and assist in the examination.

  • Typically used when the test surface is easily accessible and visible without complex equipment.

  • Example: Inspecting a weld on a flat surface where the inspector can directly view the area with or without a magnifying glass.

Remote Visual Testing (RVT)

  • Utilizes advanced optical instruments such as borescopes and video scopes to inspect areas that are difficult to access.

  • The need for equipment makes indirect testing more expensive the direct testing.

  • Typically used when the test surface is located in hard-to-reach or confined spaces where direct viewing is not possible.

  • Example: Inspecting the internal surfaces of a pipe or a pressure vessel using a borescope or a video probe.

Add Visual Testing Certification to Your Qualifications

ASNT certifications enable you to become a qualified Level II or Level III in UT.

What Certification Is Right for Me?

Application of Visual Testing in NDT Across Industries

Visual testing (VT) is a widely used nondestructive testing (NDT) method across various industries due to its simplicity and cost-effectiveness. Most other NDT methods require visual inspection prior to or during inspection.

Energy

In the oil and gas industry, NDT professionals use VT to examine pipelines, pressure vessels, storage tanks, and offshore structures for corrosion, cracks, and other defects. It’s also used in the power generation industry to inspect boilers, turbines, heat exchangers, and other critical components for cracks, corrosion, and wear. In the nuclear industry, VT is used to inspect reactor components, pressure vessels, and piping systems for cracks, corrosion, and other defects.

Learn More
"A composite image showcasing various energy sources: solar panels in the foreground, oil pump jacks in the middle ground, and wind turbines and a power plant in the background. The scene illustrates the diversity of energy production methods at sunset.

Aerospace

VT is used in the aviation industry to inspect aircraft structures, engines, and components for cracks, corrosion, and other surface defects.

Learn More
A technician performing maintenance or inspection work on the landing gear of a large commercial airplane inside an aircraft hangar. The scene is illuminated with a blue tint, highlighting the aircraft's engines and the structural details of the hangar.

Transportation

In the automotive industry, VT can be used to examine welds, castings, and machined parts for defects such as cracks, porosity, and surface irregularities. In the marine industry, VT is used to inspect ship hulls, offshore platforms, and underwater structures for corrosion, cracks, and other defects, ensuring the safety and longevity of marine vessels and structures. VT is also used to enhance the safety and reliability of railway operations through examination of rails, wheels, and other components for cracks, wear, and other surface defects.

Learn More
A modern high-speed train moving swiftly through a train station at sunset. The motion blur effect emphasizes the train's speed, with vibrant colors in the sky and station lights creating a dynamic and futuristic atmosphere.

Manufacturing

VT is used for quality control of products such as castings, forgings, and welds by detecting surface defects and ensuring compliance with specifications. This enhances product quality and reduces the risk of defects reaching the end user.

Learn More
A modern manufacturing facility with robotic arms working on an automated assembly line. The scene is well-lit with blue overhead lighting, showcasing advanced machinery and precision engineering in a clean, industrial environment.

Infrastructure

VT helps ensure the integrity and safety of buildings, bridges, and other structures. It’s used to inspect structural components, welds, and concrete surfaces for cracks, misalignments, and other defects.

Learn More
A large infrastructure project featuring a highway under construction. Several cranes are positioned along the unfinished sections of the elevated roadway and bridge. The scene is set on a clear, sunny day with blue skies and some scattered clouds.

Example: VT in the Real World

One common application of VT is measuring a part after manufacturing to verify it will fit when joined to another part. Parts in automotive engines and transmissions require extremely close fits to meet modern fuel economy standards. In the automotive industry, inspectors visually inspect vehicles before they move on to the assembly line for fit and finish. It would not be good for a customer to find an area that was not painted, or an electronic window that would not go up and down. There are hundreds of visual inspections that must be completed when producing an automobile.

Technician inspects the underside of a vehicle, a flashlight in his hand.

Deeper Learning About Visual Testing

ASNT offers both members and nonmembers learning opportunities and resources for NDT specialists certifying in and using VT.

Members get discounts on courses, events, and resources. Join and save!

Become a member today!


Webpage

ASNT Visual Testing (VT) Courses

Advance your skills and knowledge with courses and webinars on visual testing.

Programmed Instruction Series: Introduction to NDT

A comprehensive self-study resource for Level I and II candidates covering 16 NDT methods. Includes theory, principles, applications, quizzes, and an online interactive training program.

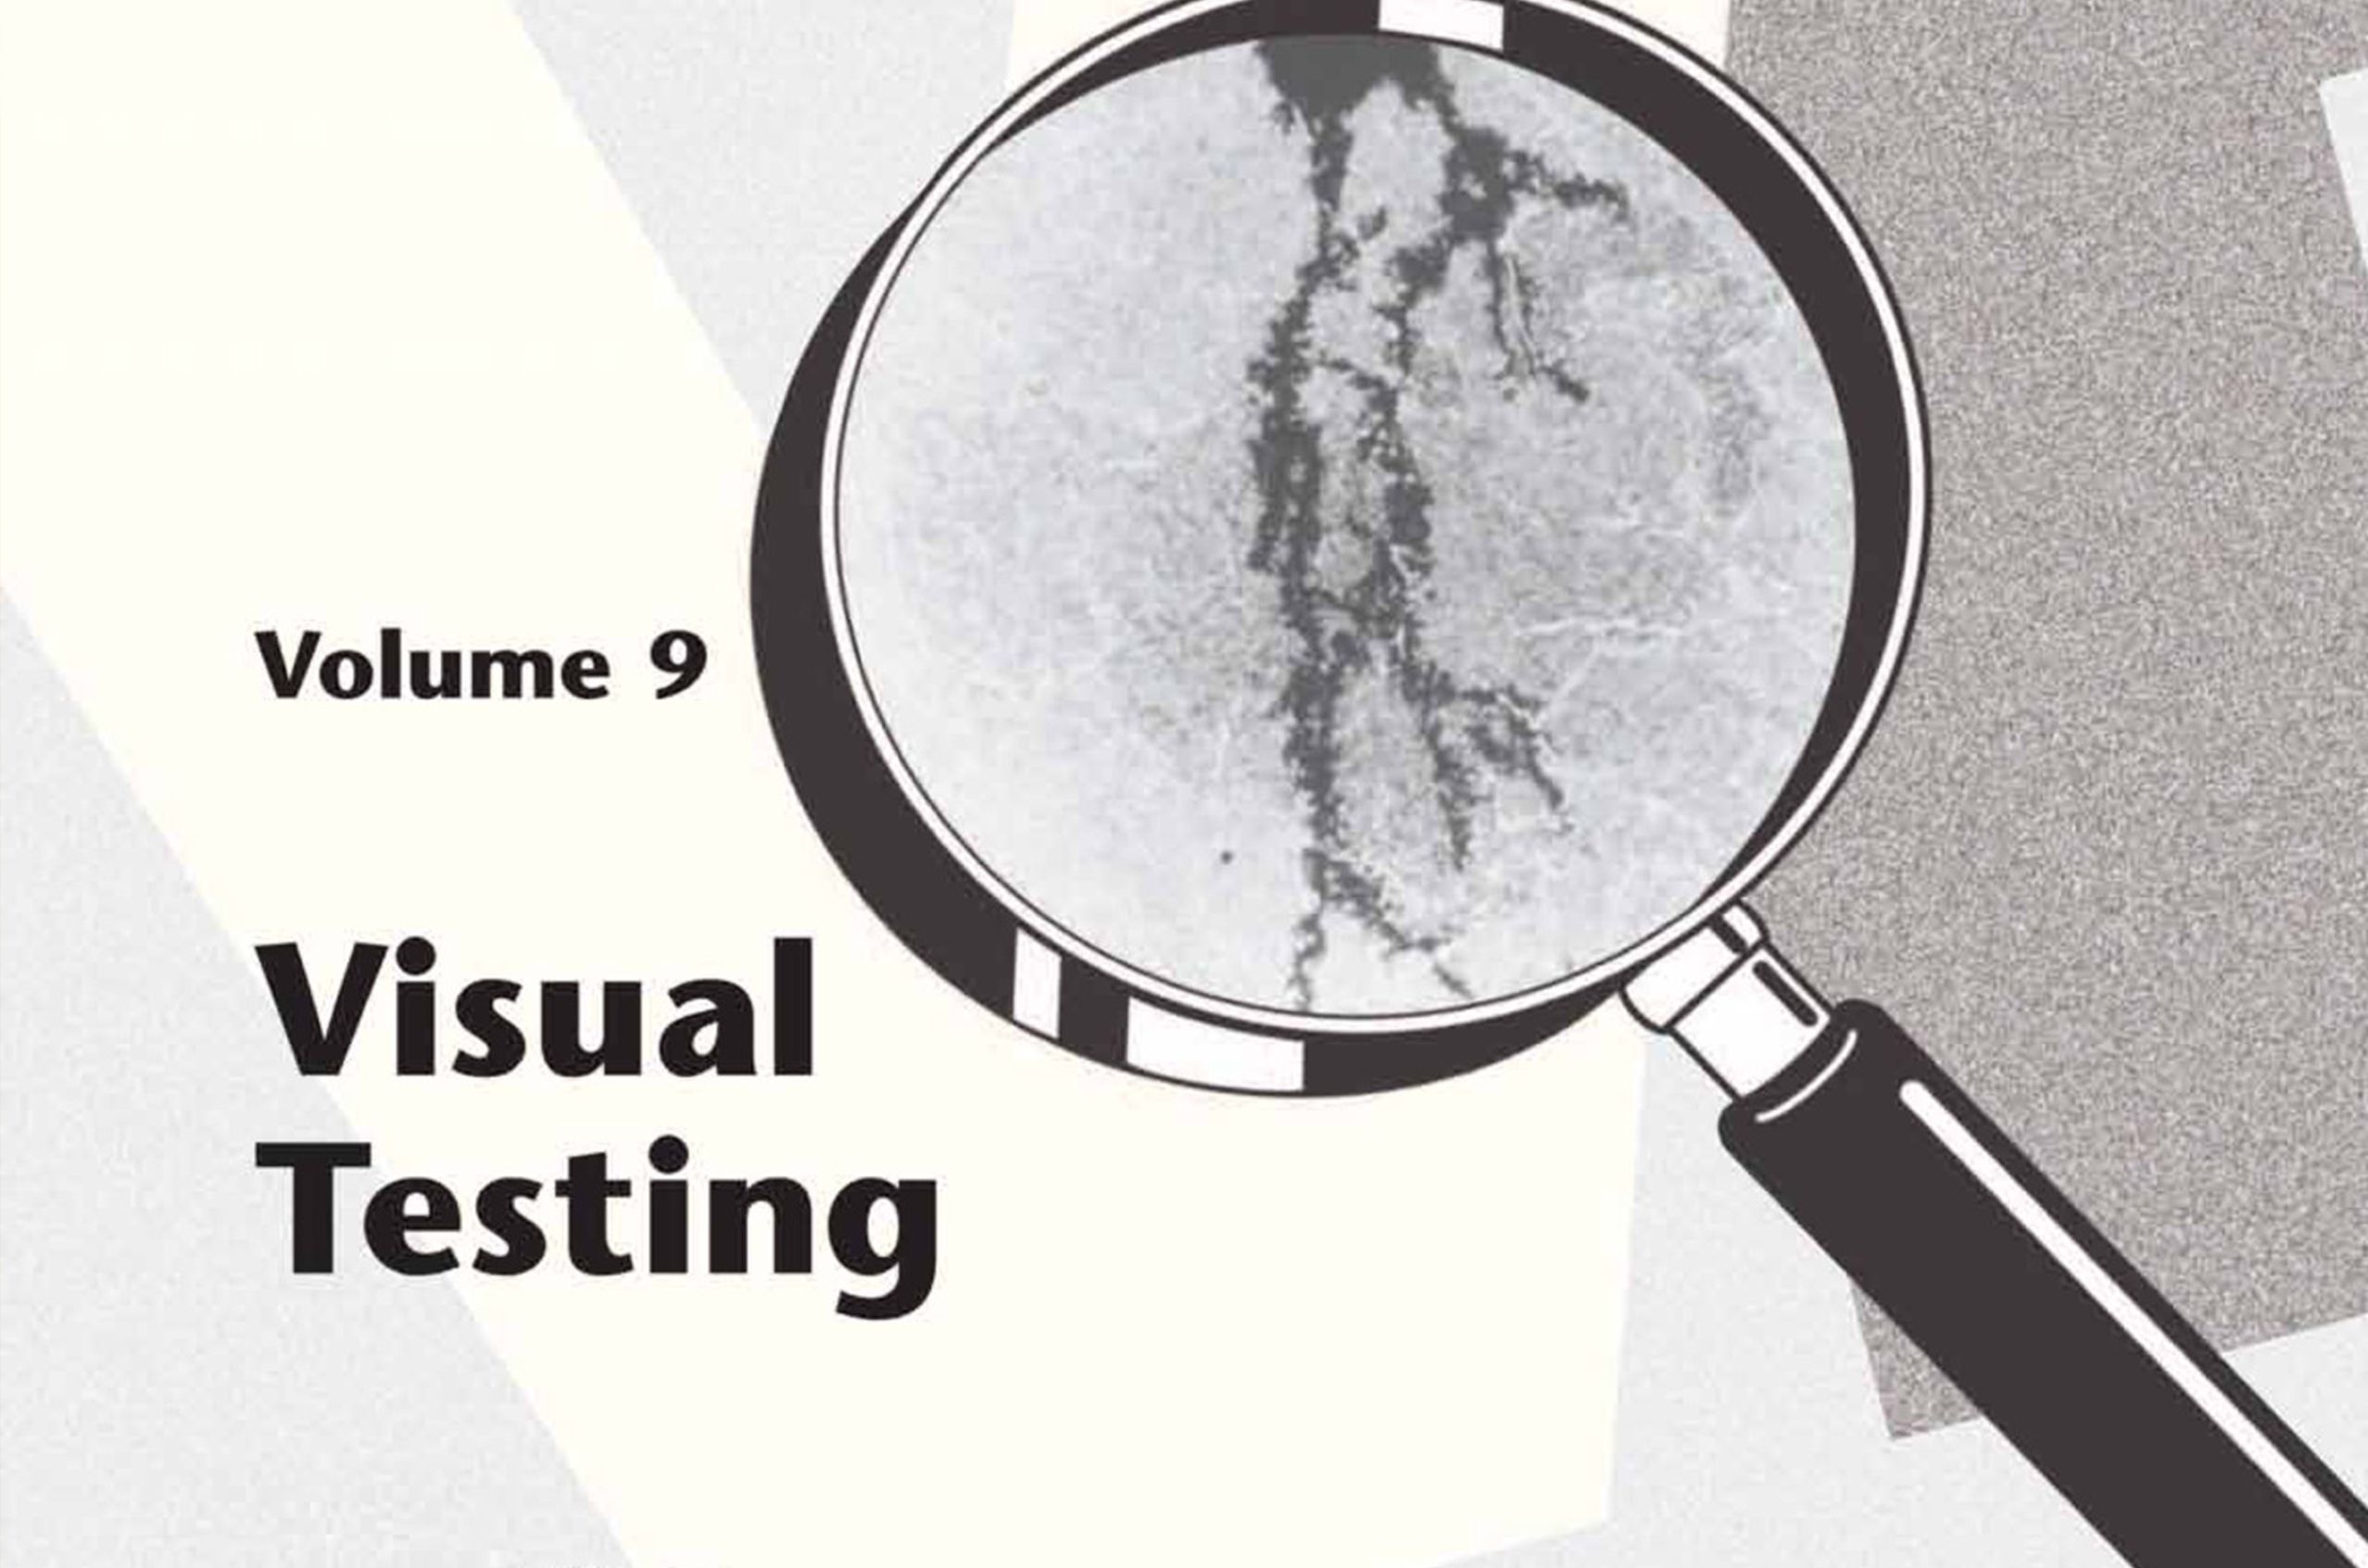
Nondestructive Testing Handbook, Vol. 9: Visual Testing (VT), 3rd ed.

A practical guide on VT for Level II and III inspectors, featuring industry-specific applications including metals, welding, chemical, petroleum, electric power, and aerospace.

Chat Window Trigger